How to Setup a Kratky Hydroponic Bin
If you're looking to get started in hydroponics, it's easy but you have to have quite a bit of gear. Although, it's not all necessary and many people have success without all of the equipment I have. But, this will be a brief overview of how I setup one of my Kratky style bins. This guide skips over germination and assumes you have saplings already. I'll cover my germination process in another guide.
Cut Holes in Bin Lid
First, we have to have a bin to place our sapling. I use Ikea Trofast bins due to their availability, low cost, durability and cool colors. But you can use whatever type of bin you can find that has a lid. Just make sure that it's opaque to block out light. Otherwise, algae will grow in your setup which can mess with your pH and take nutrient away from plants.
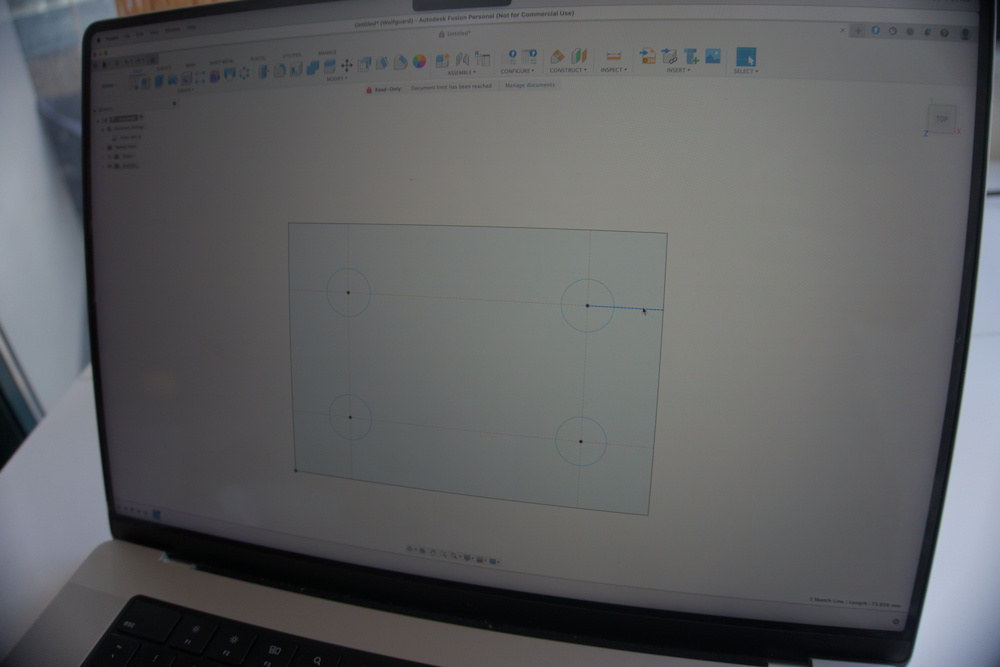
Once you have your bins, it's time to cut holes in the top of them. This can easily be done with a Hole Saw Set. Before I cut the holes, I use Fusion 360 to visualize and space where my holes will go. In this case, I'm transplanting kale, so I want as much space between them as possible.
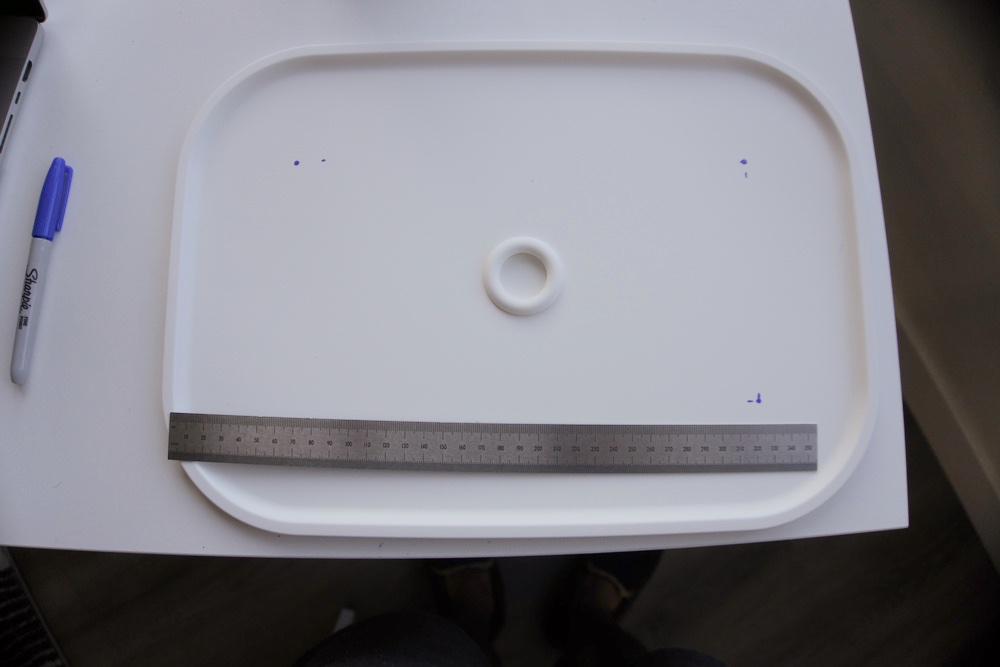
I then use a ruler to measure the distance from each side and mark the crosspoint with a marker.
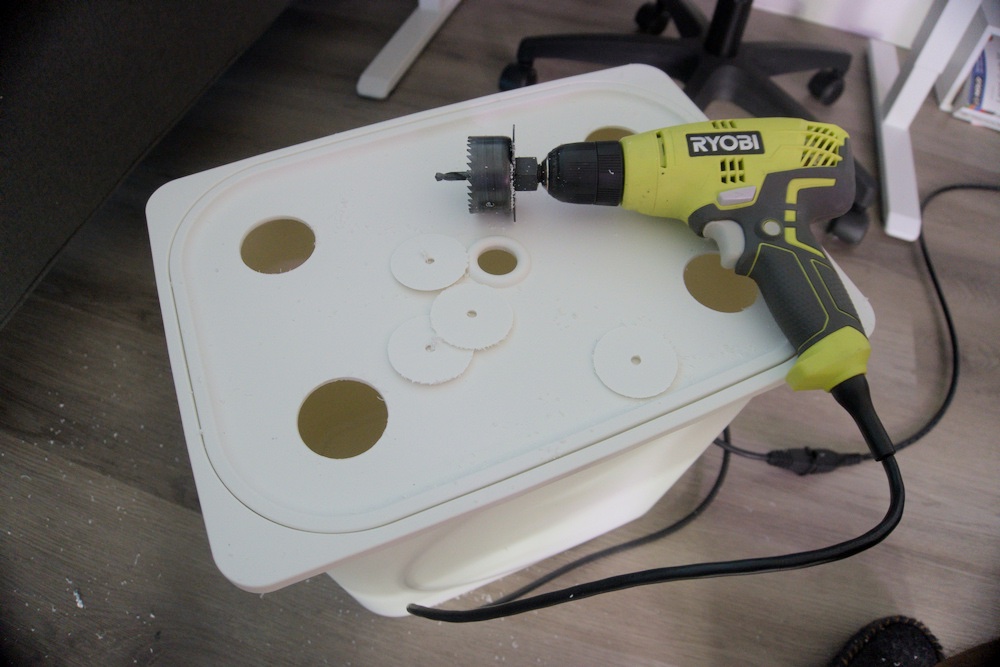
Once I have these marks, I bust out the drill and cut out my holes.
Add Nutrient Water
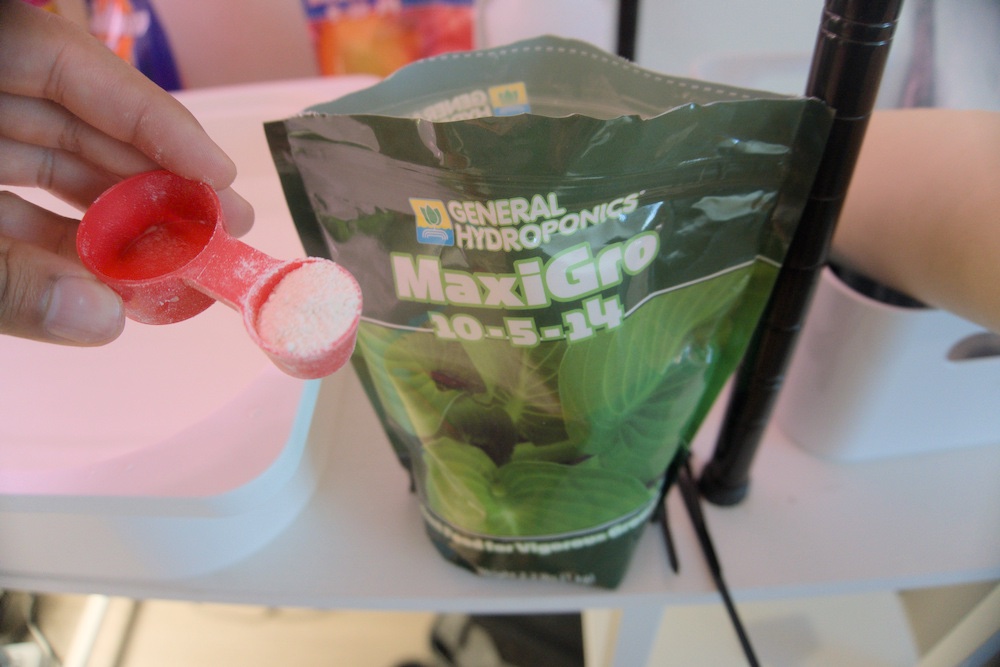
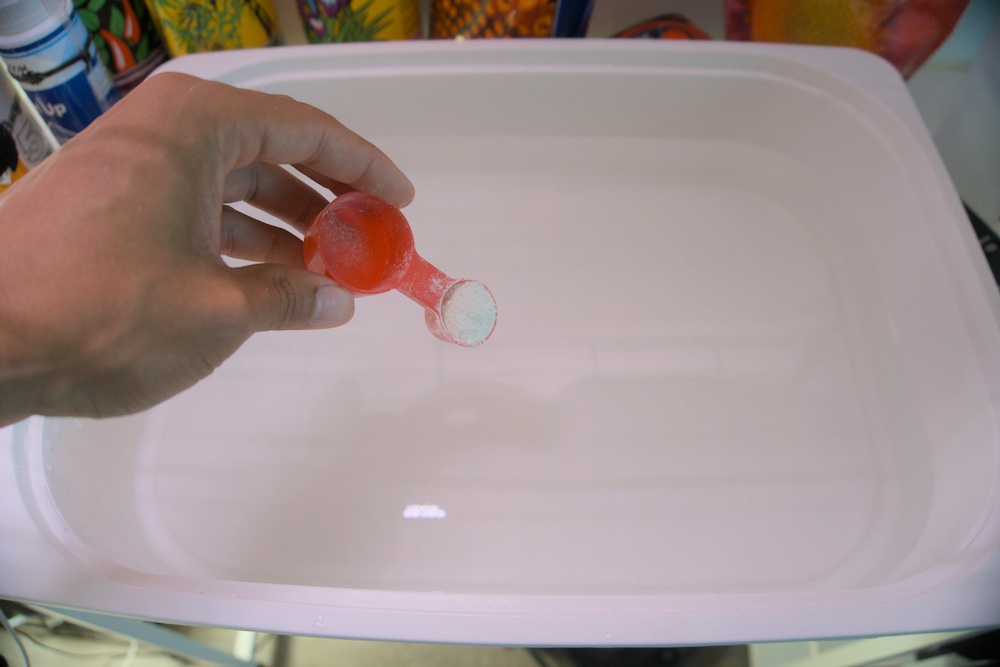
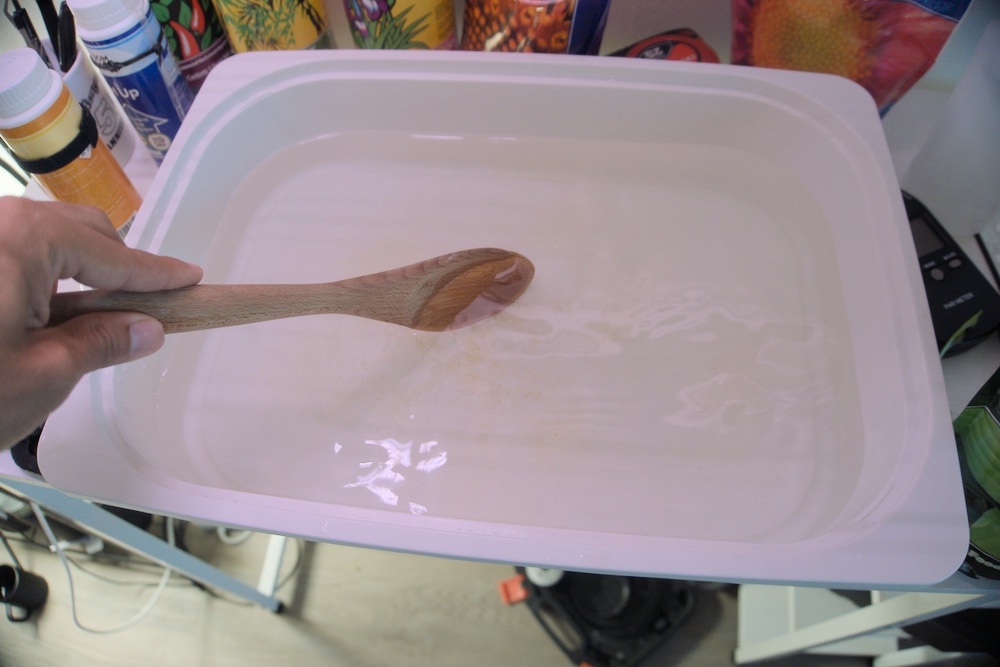
Now that these holes are cut out, we need to setup our nutrient for our kale. First we add our nutrient. In this case, I'm using a powder nutrient with a ratio of 5g nutrient to 4 liters of water. My goal is to get around 1.5 ec.
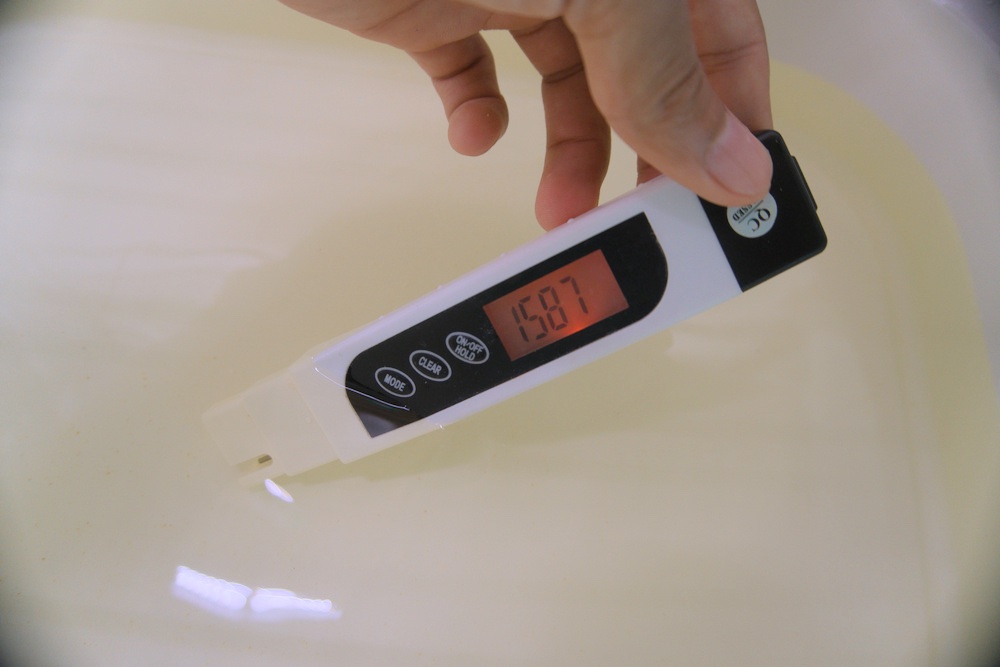
Adjust Water's pH
Now that I nailed the ec, I adjust the pH, which is necessary for the plants to digest the nutrients through their roots. If you want to learn more about this, looking into pH plant nutrient availability. My goal is to hit around 6 pH.
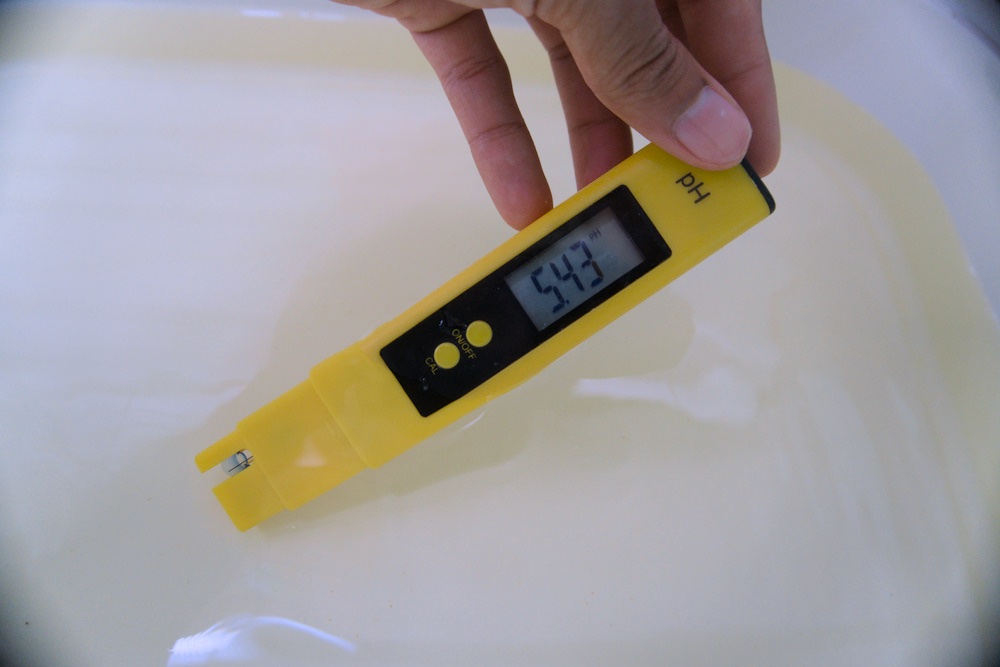
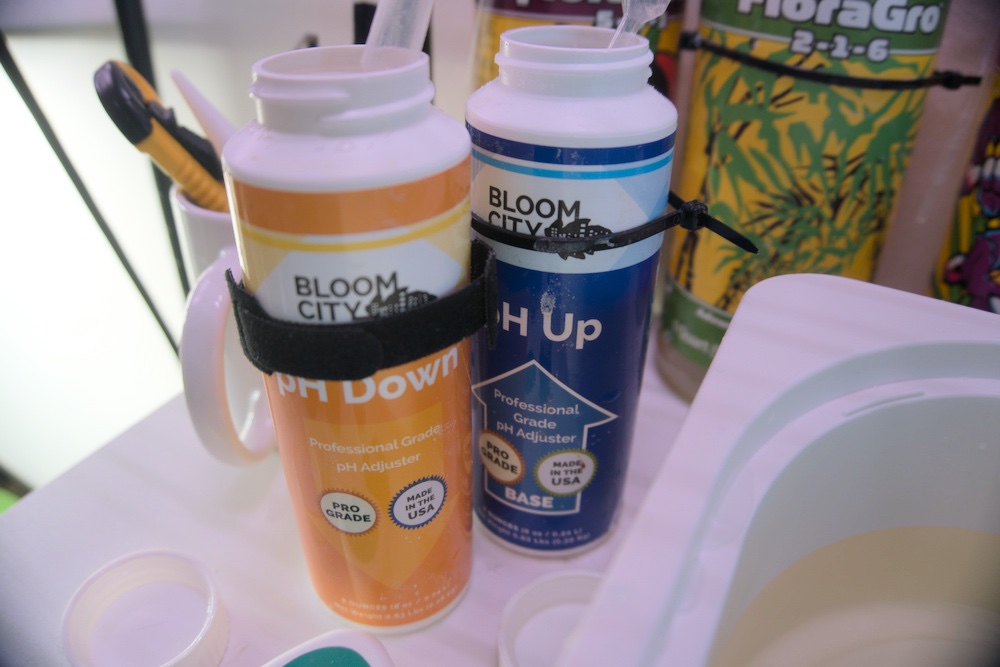
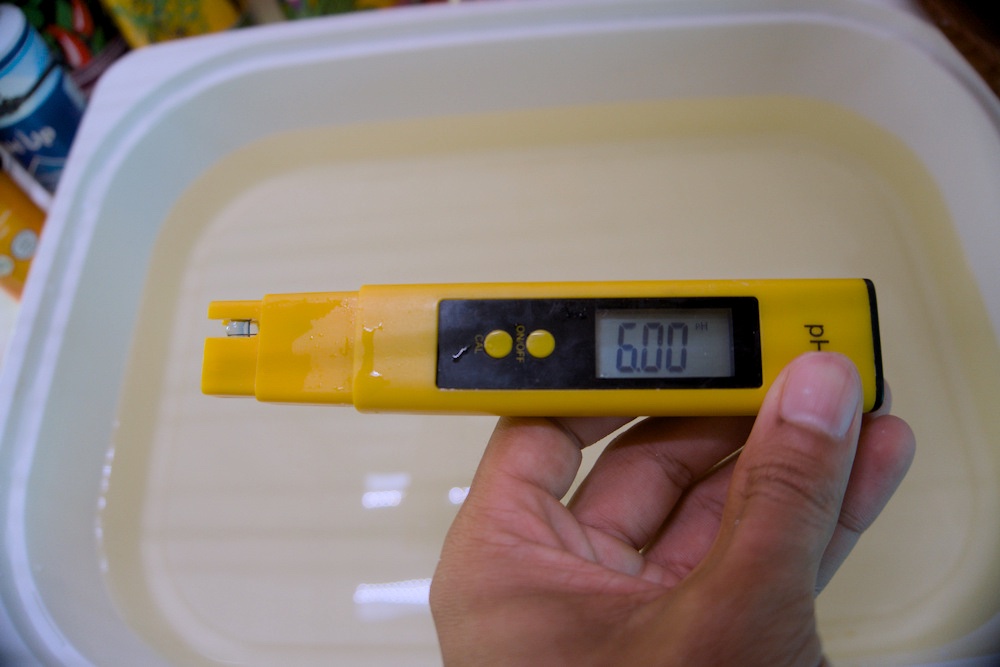
It's close, but not quite. Now I adjust the pH with pH up and down and get it to 6.
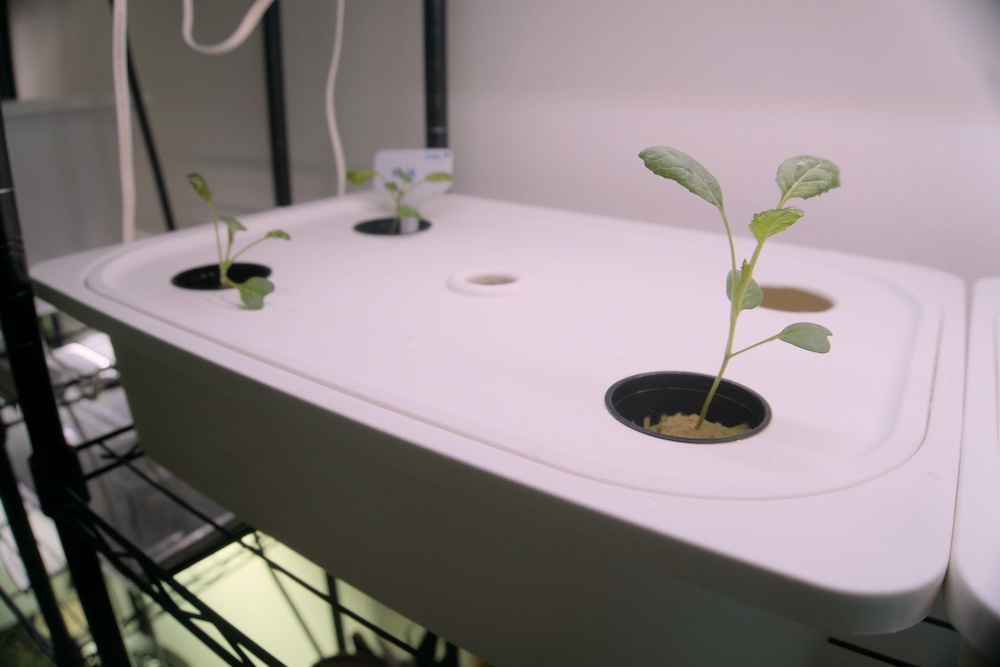
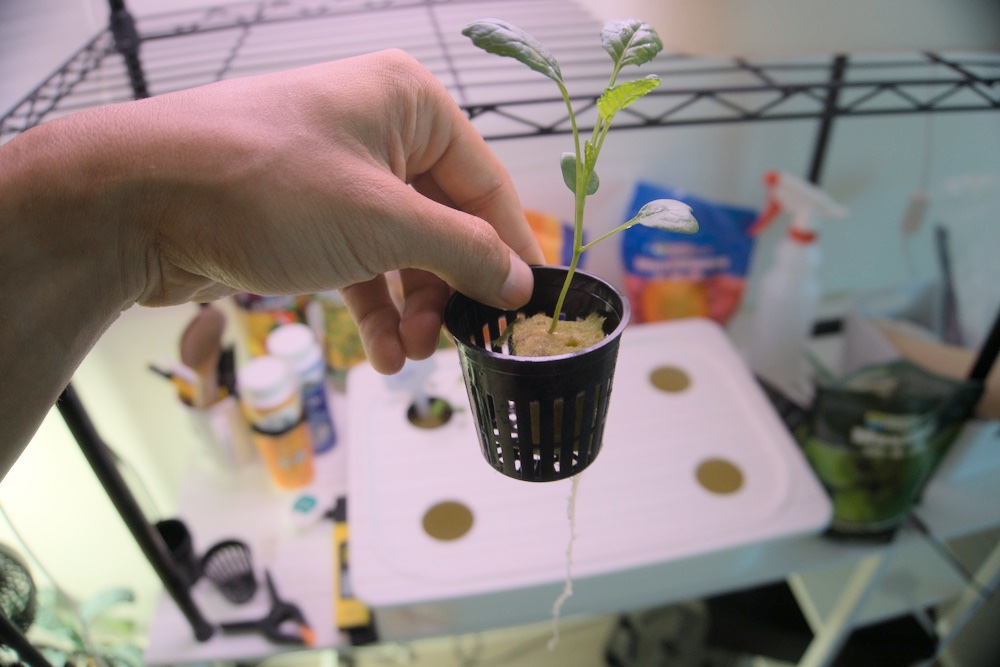
Transplant
Now that the nutrient water is at the correct ec and pH, we can move our sapling into the bin.
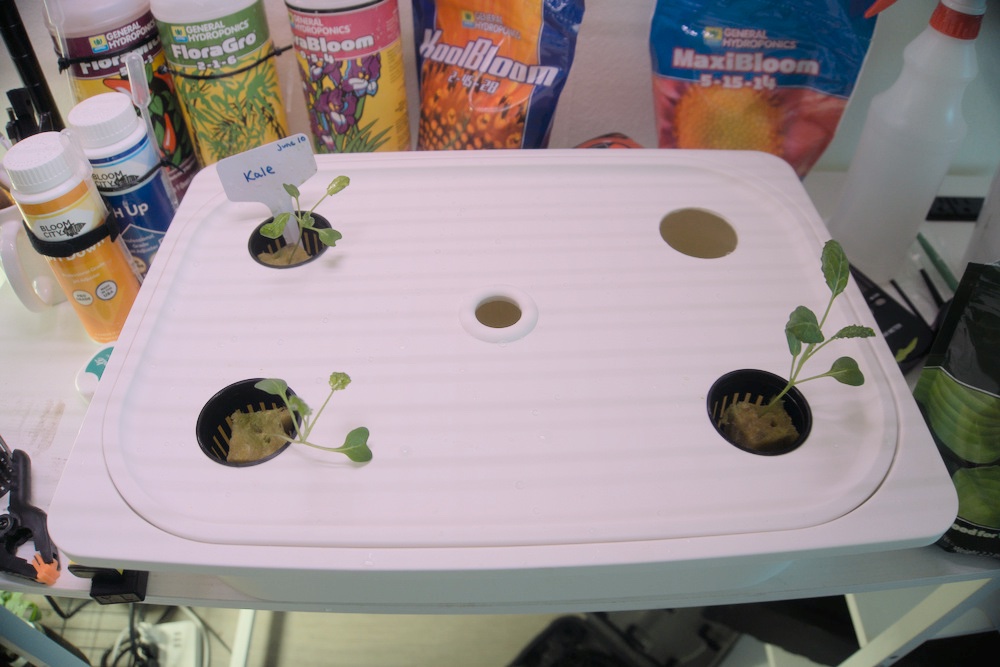
At this point, it's also worth mentioning that the holes should be covered as much as possible to prevent light from hitting the nutrient water to prevent algae growth. I created 3D printed caps for the middle hole and collars for the net pods.
Adjust Light
The final step is to ensure that the light intensity is correct. First we check the ppfd with a par meter. With vegatative plants, such as kale, I like to be somewhere around 300 ppfd over a 12 hour period. This results in a daily light integral (DLI) of around 12.96. DLI can be calculated using a this calculator or by using the DLI formula (DLI = PPFD x Daily Light Hours x 0.0036).
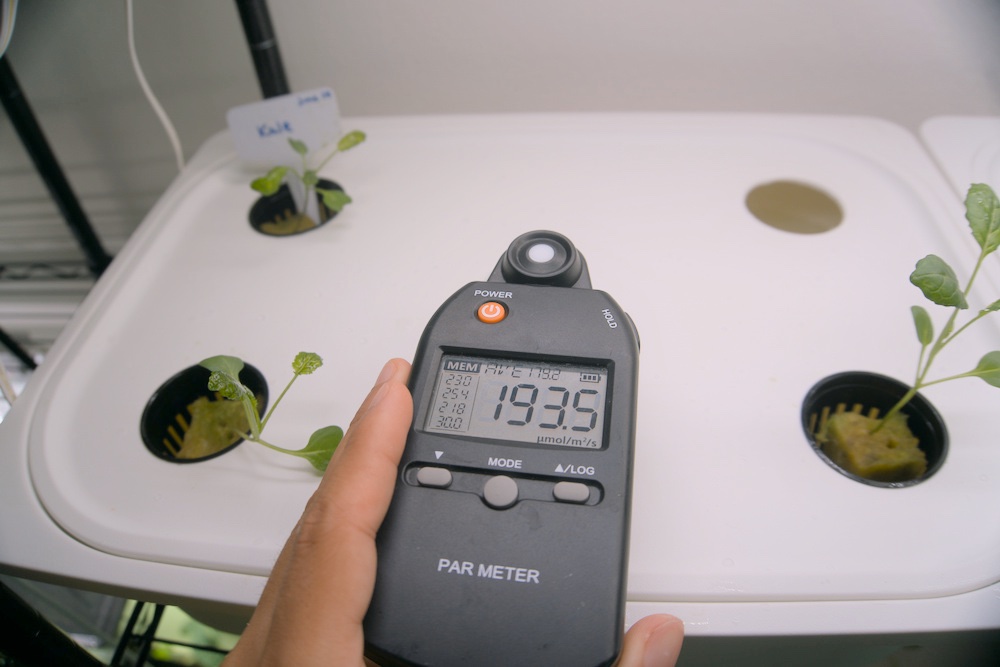
As you can see in this photo, the ppfd (which is measured in micromoles per square meter per second) is slightly below what I want it to be. So, at this point I adjust the shelve to move the bin closer to the light.
Closing
After all these steps, you'll have thriving hydroponic plants using the kratky method. Just a quick note, you also need to make sure your saplings are strong and have good root development before transferring them from your nursery / germination area. Which typically means making sure they have some true leaves and ideally have roots growing through the bottom of the rockwool.